Most volunteer coaches I met wanted a shooting lecture they could give once and be done with. That is not how young players learn a shot. They learn it in small repetitions, with a few cues they can hear once and try. From 2001 to 2013 I ran youth basketball leagues for about 800 kids a year, from kindergarten through 12th grade. The notes below are the ones I came back to with first-year players and with older kids who still needed a cleaner shot.
This guide is for volunteer coaches. It is not a demand that every child shoot like a college player. Follow your league’s rules, and leave room for the age in front of you. A kindergarten player and a ninth grader should not get the same form lecture.
Start with balance, not with the arms
A good shot starts with the feet. I asked players to set their feet about shoulder width apart, point them at the basket, and bend their knees a little before they moved their arms. If a child is falling to one side, or hopping as the ball leaves, the arms are not the first problem. The body is still moving.
- Cue: “Feet first. Then the shot.”
- Common fault: Fading away or jumping sideways. Have the child shoot from a closer spot and land in the same place they started.
- Common fault: Rushing. A short pause to set the feet is not a travel. It is the start of the shot.
Keep the cues short enough to hear once
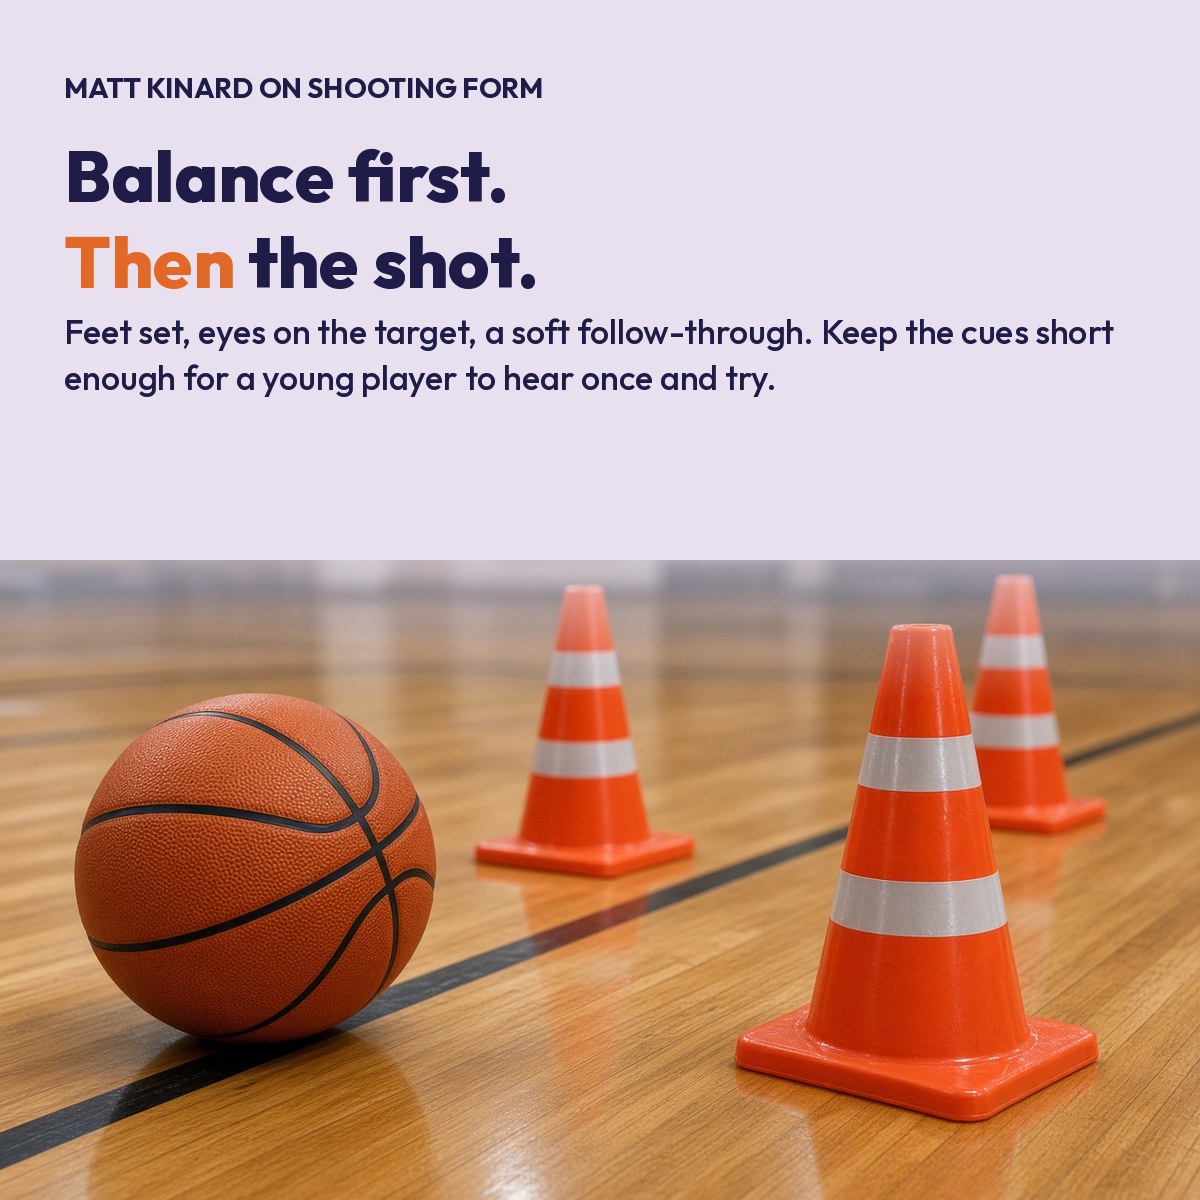
I used four ideas, and I did not give them all at once: feet, eyes, hand, and a soft follow-through. For the youngest groups, two were enough. Feet set. Eyes on the target. Older players could add a hand under the ball and a hold at the top of the shot. A long list shouted from the baseline only makes a child freeze.
I also avoided turning an acronym into a lecture. A useful shorthand can help a coach remember the points. It does not help a seven-year-old if you stop a drill to explain four letters. Say the cue, show it, and let them try.
Hand position, simply
The shooting hand belongs under or slightly behind the ball, not on top of it. The other hand is a guide on the side and comes off as the shot goes up. That is enough language for most youth teams.
- Cue: “Hand under the ball, not on top.”
- Common fault: Both hands pushing the ball. Ask the guide hand to “rest, then leave.”
- Common fault: The elbow flying out to the side. Stand in front, not in the way, and show a path that goes toward the rim. Fix this after the feet are set. One correction at a time is plenty.
For kindergarten and early elementary players, a two-hand shot close to the basket is fine. I did not force a one-hand form on a child who could not yet control the ball that way. Strength comes with age. A clean close shot they can repeat is better than a grown-up form they cannot finish.
Eyes and a soft follow-through
Ask the child to pick a target and keep their eyes there: the back of the rim, or a spot on the net. Then have them finish the shot with a soft wrist and a short hold. The hold is not for show. It tells you whether the shot was rushed.
A flat shot is often a close-range problem first, not an arc problem. Move the child closer until the ball can drop through the net, then take one step back. The arc usually improves when the child is not stretching to reach the rim.
Teach it in stations, not in a long line
Kids do not get better at shooting by waiting. I liked a short form station close to the basket: five shots, a step back after a few makes, then rotate. A partner toss and shoot works too, as long as the toss is gentle and the shooter has time to set the feet. Keep the groups small. The beginner drills and the practice plans have slots where a five-minute shooting station can live without taking over the night.
I also counted makes only after the feet were set. A lucky heave from too far away is a poor teacher. Close work, done on balance, is what carries into a game.

What to teach at each age
| Age group | Focus | Leave for later |
|---|---|---|
| Kindergarten to 2nd grade | Feet set, eyes on the target, shots close to the basket, two hands if needed. | One-hand form, range beyond a few feet, a long pre-shot routine. |
| 3rd to 5th grade | Hand under the ball, a soft follow-through, a short hold, stepping back only after makes. | A complete overhaul in the middle of a game. |
| 6th to 8th grade | The same cues at game speed, a simple free-throw routine, footwork into the shot off a pass. | A new form every week. |
| High school | Repeating the same shot when tired, shooting after a catch, keeping the routine under pressure. | Copying a professional highlight that does not fit the player. |
Leave form alone during the game
Practice is the time to work on form. A game is the time to see the floor. I did not coach a child’s elbow after every miss in a Saturday game. If I had a note, I saved it for a stoppage or for the next practice, and I kept it to one cue. A child who is listening for a correction cannot see a teammate.
The same idea applies to the best shooter on the team. If their form is messy and the ball still goes in, do not tear the shot down in January. Make a small note, work on one piece in practice, and be patient. Mid-season overhauls rarely hold.
Common problems and simple fixes
- The shot is flat. Move closer. Ask for a hold at the top. The arc can wait until the ball can drop through from a short distance.
- The ball goes consistently left or right. Check the feet first, then the follow-through. Do not start with the wrist.
- A child is embarrassed after misses. Give the cue privately, and put them in a close station where they can make a few in a row.
- Everyone wants to shoot from too far away. Make close makes the price of a step back. The rule is the same for the strong shooter and for the beginner.
A small routine for free throws
A free throw is a good place to practice a short routine: set the feet, take a breath, use the same cues, and follow through even if you feel nervous. The point is not a perfect percentage. The point is a repeatable set of steps. I used the same idea at the start of a possession, and after a miss, when a child wanted to rush the next shot.
You do not need a long form lecture to help a young player shoot better. You need a few short cues, close repetitions on balance, and an adult who does not coach every miss from the sideline. A child who can set their feet, find a target, and finish the same way has a shot they can take into the next practice, and into the next season.
Drop a short shooting station into the practice plans, and pair it with the ball-handling and finishing work in Basketball Drills for Beginners. For a simple way to use that shot in a team setting, see A Simple Youth Basketball Offense. I am Matthew Kinard. More of my writing and background is on my main site, including Youth Basketball Coaching Tips at mattkinard.com.